
Why Your Project Deserves More Than a Floor Plan and a Prayer
Every developer I’ve worked with over the last decade has asked some version of the same question at the start of a project: “How do we sell something that doesn’t exist yet?”
It’s a fair question. You’re asking a buyer, whether that’s a luxury homeowner, an institutional investor, or a retail anchor tenant, to commit real capital to a building they can only see in two dimensions, on paper, months or years before a single foundation is poured. A construction-document floor plan tells a structural story. It says nothing about how afternoon light will fall across a kitchen island, how a lobby will feel when 200 people move through it during a grand opening, or how a rooftop amenity deck will read against a skyline at dusk.
That gap between what’s buildable and what’s sellable is where 3D rendering earns its place in a project budget. Not as a marketing afterthought, but as a core deliverable that sits alongside your civil drawings and MEP coordination sets from the earliest phases of design.
In this guide, I want to walk you through 3D rendering the way I walk clients through it in our first pre-design meeting: what it actually is, where it fits in your project timeline, what separates a rendering that closes sales from one that quietly undermines them, and the mistakes I see developers make often unknowingly that cost them both money and credibility with buyers.
What “3D Rendering” Actually Means (And Why the Term Gets Misused)
In casual conversation, “3D rendering” gets used as a catch-all for almost any computer-generated image of a building. That looseness causes real problems when it comes time to scope a project and set a budget, so let’s define terms precisely.
3D rendering is the process of generating a photorealistic (or stylized) image or animation from a three-dimensional digital model of a building or space, using rendering software to simulate light, material, and atmosphere. The output can take several distinct forms, each suited to a different stage of your marketing and sales strategy:
- Exterior renderings: the building in its context: street presence, massing, landscaping, adjacent structures, sky and lighting conditions.
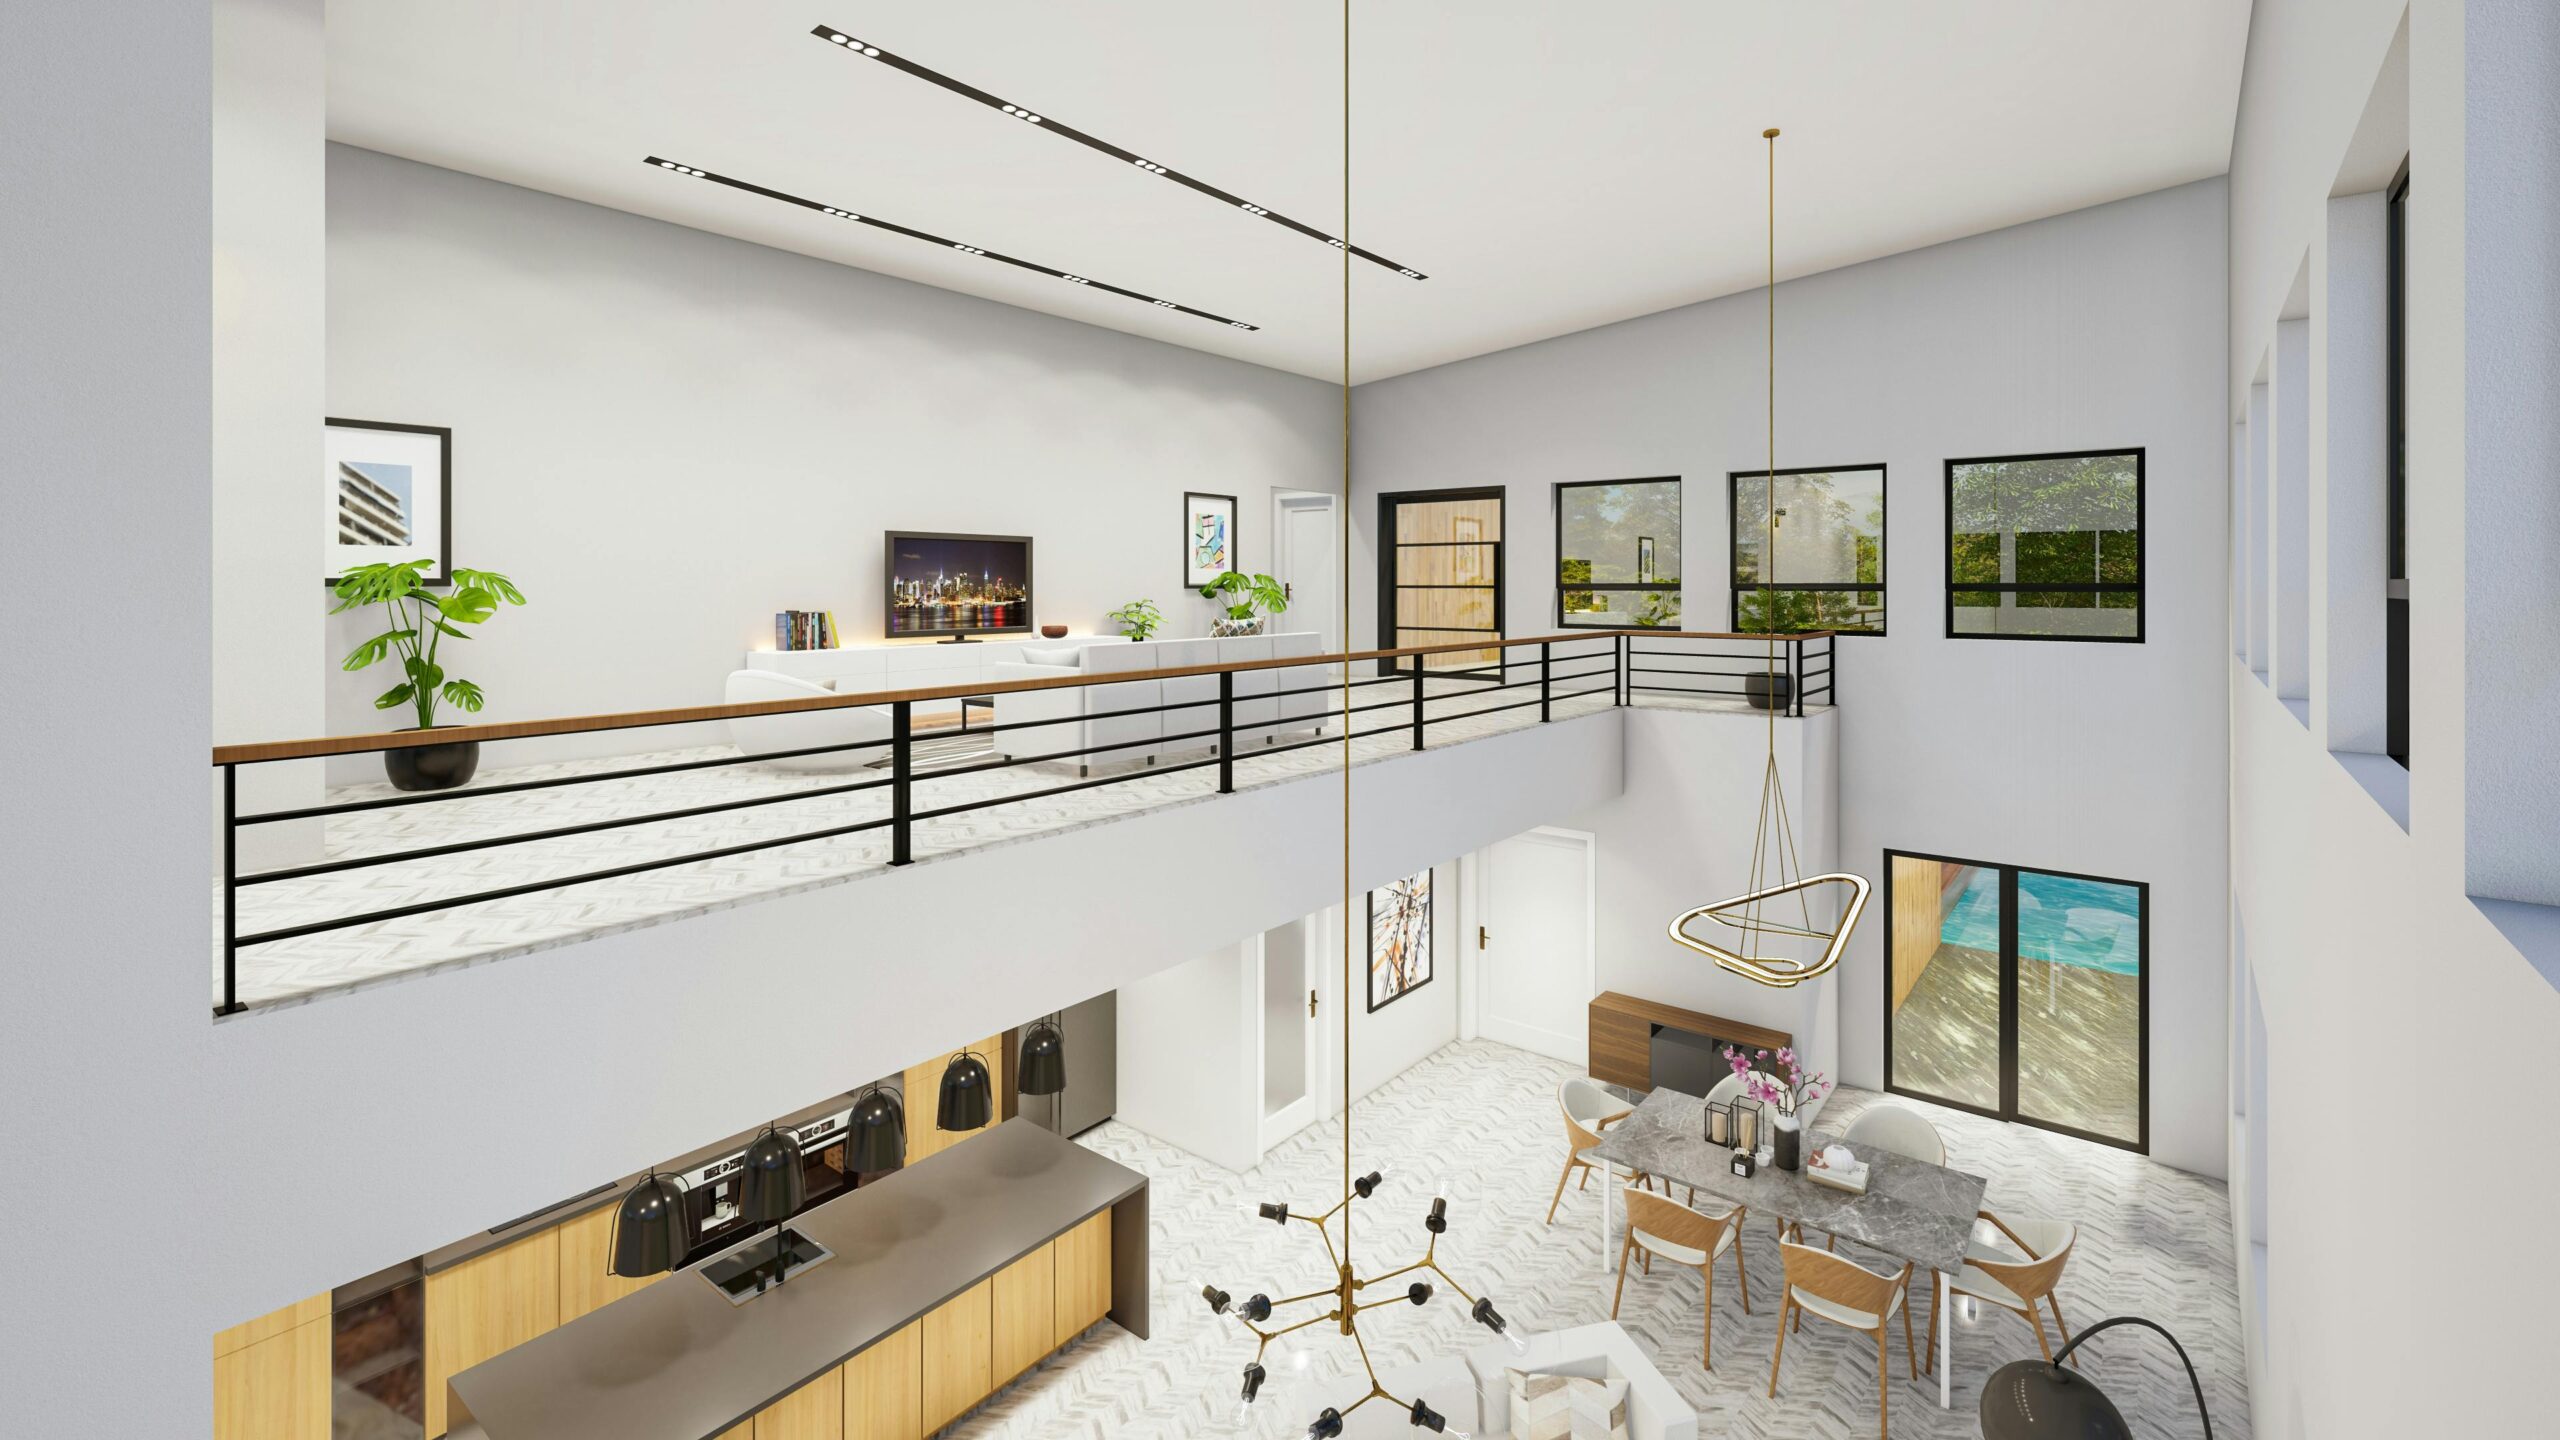
- Interior renderings: unit layouts, finish packages, furniture staging, and lighting design for specific rooms or amenity spaces.
- Aerial renderings: bird’s-eye or drone-perspective views useful for master-planned communities, campuses, or large mixed-use developments.
- Walkthrough animations: a continuous camera path through interior and/or exterior spaces, often used on project websites and in sales-center presentations.
- Virtual reality (VR) and interactive 3D tours: real-time, explorable environments, typically built in a game engine rather than a traditional offline renderer.
- 360-degree panoramic renderings: static but immersive, viewable through a browser or headset, often used to simulate a “you are standing here” experience for a specific room.
Each of these draws from the same underlying 3D model, but they are produced with different software pipelines, different levels of technical complexity, and critically different price points and lead times. When a developer asks for “a rendering” without specifying which of these they need, the resulting quote and timeline mismatch is one of the most common sources of friction I see between clients and rendering studios.
The Technical Pipeline, in Plain English
For readers who want to understand what they’re actually paying for, here’s the abbreviated version of how a rendering gets made:
- 3D Modeling The building’s geometry is built in software (commonly Revit, SketchUp, 3ds Max, or Rhino) based on architectural drawings. This model is dimensionally accurate but has no color, texture, or lighting, yet it looks like a gray or white “clay” version of the building.
- Texturing and Material Assignment: Surfaces are assigned real-world material properties: the reflectivity of glass, the grain of a wood floor, the roughness of a stucco facade. This step is where a rendering starts to look “real” rather than like a video game asset.
- Lighting Setup: Artificial and natural light sources are placed and calibrated. This includes simulating sun position and sky conditions for a specific time of day, season, and geographic latitude a step called sun-path studies, which we’ll return to below.
- Rendering (Ray Tracing or Path Tracing): The software calculates how light bounces through the scene, pixel by pixel, to produce the final image. This is the computationally expensive step; a single high-resolution frame can take anywhere from minutes to several hours of processing time depending on scene complexity.
- Post-Production: Color correction, added entourage (people, cars, vegetation), atmospheric effects, and compositing bring the raw render to its final polished state.
Understanding this pipeline matters because it explains why revisions aren’t free and instant. A change to a facade material at step 2 is inexpensive. A change to the building’s massing after the lighting and rendering passes have already run often means redoing steps 3 and 4 from scratch. Good rendering firms build revision rounds into their contracts for exactly this reason, and it’s worth asking your vendor, up front, how many rounds are included and what triggers an additional fee.
Where 3D Rendering Fits in Your Development Timeline
One of the most valuable things I tell clients and the piece of advice that most often gets ignored, to their detriment, is that rendering should not be treated as a marketing task that starts after design is “finished.” It should be woven into your project timeline at three distinct points.
1. Pre-Design and Entitlement Phase
Long before construction drawings are complete, rendering can support your entitlement process. Planning commissions, zoning boards, and neighborhood review committees respond to visual context far more readily than they respond to a site plan and a stack of elevations. A well-produced exterior rendering, shown alongside a shadow study or a streetscape context view, can meaningfully shorten the runway on a contentious approval process. I’ve seen projects gain smoother passage through design review specifically because the rendering package demonstrated how the building would relate to adjacent structures something abstract elevation drawings simply don’t communicate to a lay board member.
2. Pre-Sales and Pre-Leasing
This is the phase most developers already associate with rendering, and for good reason. For residential condominium developments in particular, pre-sales targets often 50-70% of units under contract before a construction loan will close depend entirely on a buyer’s ability to visualize a finished product. The same logic applies to commercial and retail developments courting anchor tenants: a leasing brochure built around compelling interior and exterior renderings does real financial work by accelerating your absorption timeline.
3. Construction-Phase and Post-Completion Marketing
Rendering doesn’t stop earning its keep once ground is broken. Progress-phase renderings showing a project at various stages of construction juxtaposed with its completed vision sustain buyer confidence during the long, visually unglamorous middle of a construction schedule. And post-completion, high-quality renderings often continue to serve secondary sales, refinancing packages, and future-phase marketing for master-planned developments.
Insider tip: Build your rendering line item into your pro forma at the same phase you budget for civil engineering and land planning, not under “marketing” as a discretionary spend to be trimmed if the budget tightens. Firms that treat rendering as core project infrastructure consistently hit pre-sales benchmarks faster than those that treat it as an afterthought.
What Separates an Effective Rendering From a Wasted One
I’ve reviewed rendering packages from dozens of studios over the years, commissioned on behalf of clients or handed to me mid-project when a developer wasn’t satisfied with what they’d received. The difference between renderings that convert buyers and renderings that quietly erode trust almost never comes down to raw technical polish. It comes down to a handful of specific decisions.
Accuracy Over Aspiration
The single most damaging mistake in real estate rendering is exaggeration that a buyer discovers later during a site visit, at closing, or worse, after move-in. A rendering that shows a mature tree canopy where your landscaping plan specifies six-foot saplings, or that depicts a unit’s square footage with furniture scaled down to make the room look larger than it is, creates liability beyond marketing embarrassment. In some jurisdictions, and increasingly in condominium purchase agreements, marketing renderings that materially misrepresent the finished product can expose a developer to legal exposure. A rendering should represent your approved, permitted design intent, not an aspirational version you hope value engineering doesn’t touch later.
Sun-Path and Seasonal Accuracy
This is a technical detail that separates a professional rendering studio from a generalist one. Light direction and shadow length are functions of a building’s actual geographic latitude, orientation, and the specific date and time being depicted. A rendering that shows warm, low-angle “golden hour” light on a facade that, in reality, faces north and never receives direct sun at that hour isn’t just aesthetically dishonest it sets a false expectation about how bright and warm a space will actually feel, which is often the single most common source of post-purchase buyer disappointment in residential product. Ask your rendering vendor whether they run true sun-path calculations tied to your site’s coordinates. It’s a five-minute setup step that a rushed studio frequently skips.
Context, Not Isolation
A common cost-cutting shortcut is rendering a building in visual isolation a pristine structure floating against a generic sky, with no adjacent buildings, streetscape, or true topography. This is faster and cheaper to produce, but it robs buyers of the information they most want: what will I actually see when I look out my window, and what will the building look like from the street I’ll walk down every day? Contextual accuracy, including realistic neighboring structures and correct site grading, is worth the additional modeling cost for any urban or infill project.
Consistency Across the Full Marketing Package
Renderings produced by different vendors, or by the same vendor at different times without a shared style guide, often don’t match in color grading, lighting mood, or level of realism. Buyers notice this inconsistency even if they can’t articulate why a marketing package feels “off.” Establish a single visual style resolution, color palette, time-of-day convention, and level of interior staging at the start of a project and hold every subsequent rendering to it.
Common Mistakes Developers Make (And How to Avoid Them)
After years of walking clients through this process, the same handful of missteps come up again and again:
Commissioning renderings before design is locked. Producing beautiful interior renderings of a unit layout that value engineering later changes means either scrapping the work or, worse, marketing a product you no longer intend to build. Lock your finish package and floor plans before your final marketing renders go into production, even if that means an earlier concept render gets used for pre-sales and a refined version replaces it later.
Treating rendering as a single flat-fee commodity. Bulk-quoting “10 renderings” without specifying view angles, resolution, revision rounds, and delivery format almost always leads to scope disputes mid-project. Define your deliverables list: exterior hero shot, lobby interior, model unit kitchen, rooftop amenity, aerial site context before requesting a quote, the same way you’d define a scope of work for any other consultant.
Skipping the accessibility and code-compliance sanity check. It sounds unrelated to marketing, but I’ve seen renderings depict amenity spaces, unit layouts, or site circulation that don’t actually comply with ADA requirements or local building code as designed. Marketing a space that later has to be redesigned for compliance creates a credibility problem with buyers who saw the original imagery. Have your architect, not just your rendering vendor, sign off on any rendering intended for public marketing use.
Underinvesting in the “unglamorous” views. Developers often over-invest in the hero exterior shot and under-invest in the views buyers actually spend the most time evaluating: the kitchen, the primary bathroom, the storage and closet space. These are frequently the images that most directly influence a purchase decision, particularly for residential product.
Ignoring how renderings will be used across formats. A rendering optimized for a large-format sales-center print may look muddy or low-resolution when cropped for a social media ad or a mobile-optimized website. Specify all intended end uses print, web, social, VR headset at the outset so your vendor delivers the right resolution and aspect ratios from the start, rather than re-rendering later at additional cost.
A Brief Case Study: Getting the Sequence Right
On a recent mixed-use project, our firm supported a ground-floor retail podium beneath a mid-rise residential tower; the developer initially wanted a single sweeping aerial rendering as their primary pre-sales asset. It was visually striking, but it told buyers almost nothing about what actually mattered to them: unit layouts, interior finishes, and the street-level retail experience they’d walk past daily.
We restructured the rendering package around the buyer’s actual decision-making sequence: an eye-level street view establishing neighborhood context and retail activation, followed by a lobby interior, then model-unit interiors with accurate sun-path lighting for each unit’s true orientation, and only then the aerial hero shot as a closing “vision” image for the brochure’s final page. Pre-sales velocity on the project’s initial release outpaced the developer’s prior project, one that had used the aerial-first approach by a meaningful margin within the same sales-center window. The imagery wasn’t more expensive to produce; it was simply sequenced around what buyers actually needed to see, and when.
Working With Your Architecture Firm on Rendering Strategy
Because rendering draws directly from your architectural model, the firms best positioned to produce accurate, code-compliant, and technically sound renderings are the ones who designed the building in the first place or who work in close, iterative coordination with your architect of record. A third-party rendering studio working from incomplete drawing sets is far more likely to introduce the kind of design-intent errors and code-compliance gaps described above.
When we take on rendering work for a project, we treat it as an extension of the design process, not a separate marketing vendor relationship. That means your rendering package stays synchronized with your latest approved drawings, your sun-path and context studies are based on your actual site survey, and any design changes during permitting or value engineering get reflected in your marketing imagery before it goes public, not after a buyer notices the discrepancy.
If you’re approaching a pre-sales or pre-leasing milestone and want a rendering strategy built around your project’s actual sales sequence rather than a generic deliverables list, that’s a conversation worth having early while your design is still flexible enough to plan around it.

Taswar Hussain
Frequently Asked Question - FAQs
Pricing varies widely based on view count, resolution, level of detail, and whether animation or VR is included, but developers should expect exterior and interior still renderings to be quoted per image or per view, with walkthrough animations priced per finished minute of footage. Get itemized quotes rather than a flat package price so you can compare vendors accurately.
A single high-quality still rendering typically takes one to three weeks from a finalized 3D model, depending on revision rounds. Full marketing packages with multiple views, and especially walkthrough animations, can take four to eight weeks. Build this lead time into your pre-sales launch schedule.
Yes, contextual exterior renderings and shadow studies are increasingly common and effective supporting materials in entitlement and design review submissions, particularly for projects facing community or commission scrutiny.
Traditional rendering produces fixed images or pre-set animation paths. VR and interactive 3D tours are built in real-time engines that let a prospective buyer freely explore a space from any angle, on demand. VR is more expensive and technically complex to produce but can be a differentiator for high-end or high-volume sales centers.
They should represent your approved, permitted design intent as closely as possible. Materially misrepresenting finishes, scale, or site context in marketing renderings creates legal and reputational risk, particularly in residential pre-sales contracts.